Legal File Manager (LFM) 3.11
1. Windows XP (32/64 bit) with SP3 applied or above.
1.2 It is better you have administrator or installation right in your computer during installation.
1.3 You MUST have internet access upon installation due to some files download form interent.
1.4 Install Microsoft Office 2007 or above (32bit / 64bit) (It is better to apply latest service pack as well ).
1.5 Install Adobe Reader X (version 10 or above). If not, click here to download and install.
1.6 Install Microsoft dotNet 2.0 or above (Windows 7 not necessary). If not, click here to download and install
1.7 If you are using Windows 7, please install Internet Explorer 11, click here to download and install
1.8 Install Microsoft Access 2010 or later (32bit / 64bit). If not, click here to download Microsoft Access Runtime and install. You may also apply service pack 2 of Access 2010 Runtime. Alternative link for download.
*** Optional
OCR
A. Microsoft Office Document Imaging (MODI) must installed on your worksation. If you are using Office 2007 or earier, please make sure installed or refer here. If you are using Office 2010 or later please refer here how to install it.
B. Tesseract is a open source OCR software. You can download it here.
C. OCRSpace is a online serve. You may subscribe the service as you need.
*** End
2. Download Legal File Manager Program. i.e."LFMConfig-3.11.zip".
2.1 If you are using Windows 7 or later, please assign everyone (better) and/or current user having "Write permission" to the LFM folder (e.g. "C:\LFM") and inside files. You may refer the example here.
2.4 Extract 'LFMConfig-3.11.zip' file (contain "LFMConfig.accde" for 32bit access or "LFMConfig64.accde" for 64bit access files inside) to a folder your wanted to install (e.g. "C:\LFM").
3. Open the LFM installation folder (e.g. C:\LFM) and click 'LFMConfig.accde' (32bit access) or 'LFMConfig64.accde' (64bit access) file.
![]()
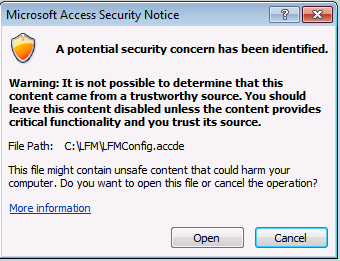
3.1 Microsoft Access Security Notice may be prompted. Click 'Open' button to open it.
3.2 If you find any message or dialog box regarding "read-only", please refer to para 2.1 instructions as above.
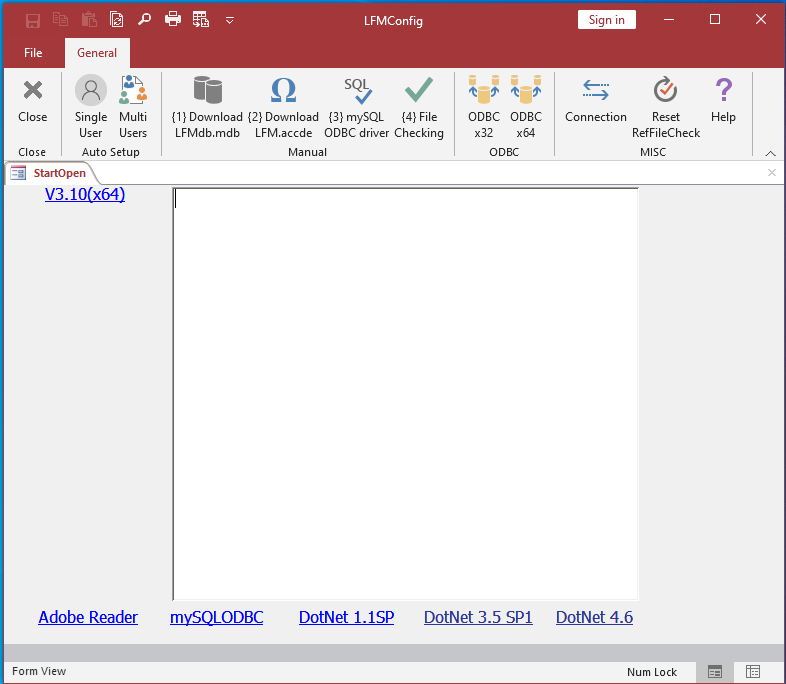
3.3 "StartOpen" menu opened . Click "SingleUser" button to complete setup. (You MUST have internet connection upon click the button).
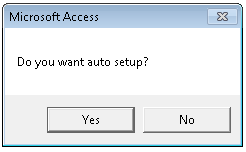
Click "Yes"
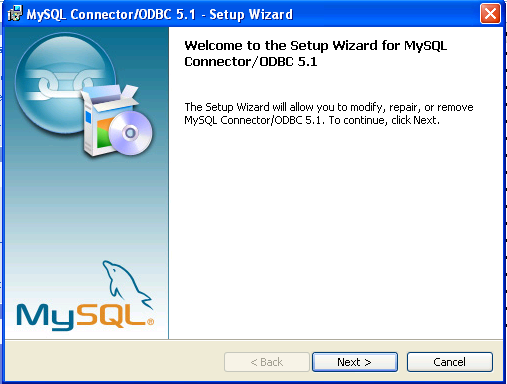
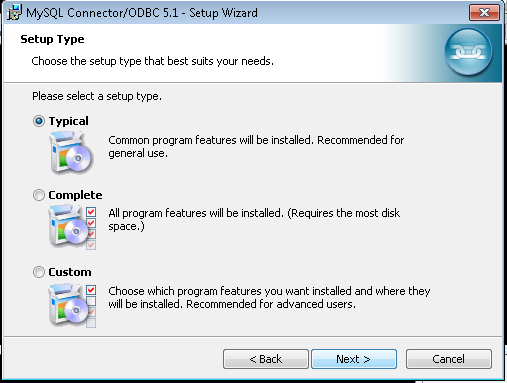
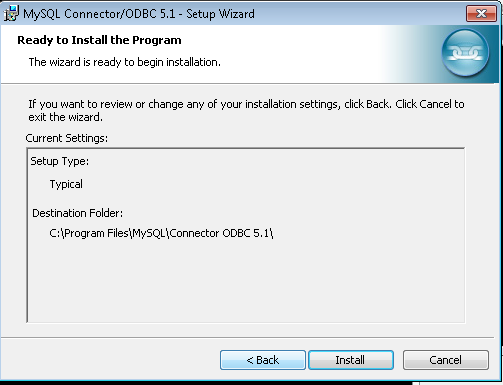
3.4 Then, mySQL OCBC driver installation prompted. You would follow the installations prompted to install mySQL ODBC driver. This step may be skiped if mySQL ODBC driver has been already installed.
3.4.1 It may be prompted dialog box "Do you want to allow this app to make change to your device? - Registry Editor". Click "Yes"
3.5 When FileChecking finished, "Install.bat" file will be automatically run as a DOS prompt. After DOS prompt closed, dialog box to exit prompted, click 'Yes' button to run "Legal File Manager".

4. Click "Yes". LFM.accde will be run after LFMConfig.accde exit. If you click "No" or "Cancel" to exit. You may click the "Legal File Manager" shortcut icon in Desktop or the "LFM.accde" file in the folder (e.g. "C:\LFM") directly to run Legal File Manager.
![]()
![]()
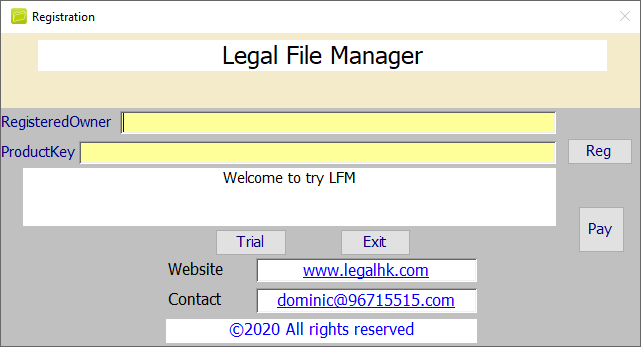
4.1 Click "Trial"
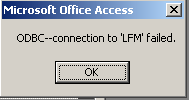
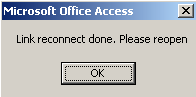
4.2 Dialog box "ODBC - connection to LFM failed" and "Links reconnect done. Please reopen" be prompted. Just click "OK".
4.3 Click 'LFM.accde' file or "Legal File Manager" shortcut icon in Desktop as paragraph 4 as above again to start.
4.4 If it can't run after installation, Please see Q&A or Manual section
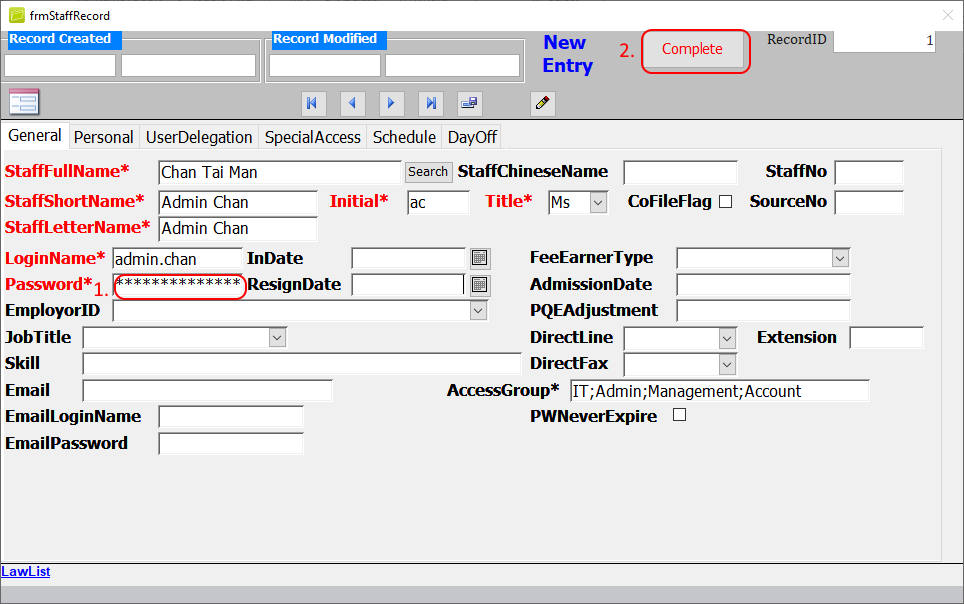
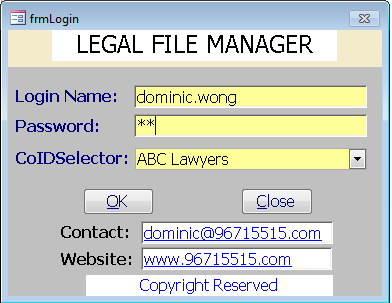
5. Add first user record, the red highlight and marked " * " fields must completely fill-in. Then click "Complete" button when finish (REMEMBER this record's "LoginName" and "Password")
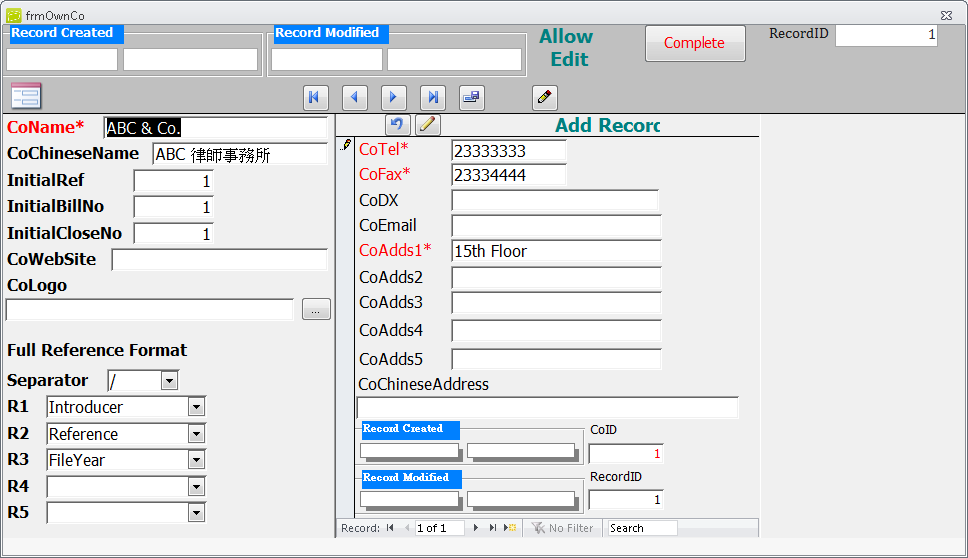
5.1 Add first Company record, the red highlight and marked " * " fields must completely fill-in. Then click "Complete" button when finished.
5.2. Login with first user account created above.
5.3 It will take few minutes to complete first login. Please be patient.
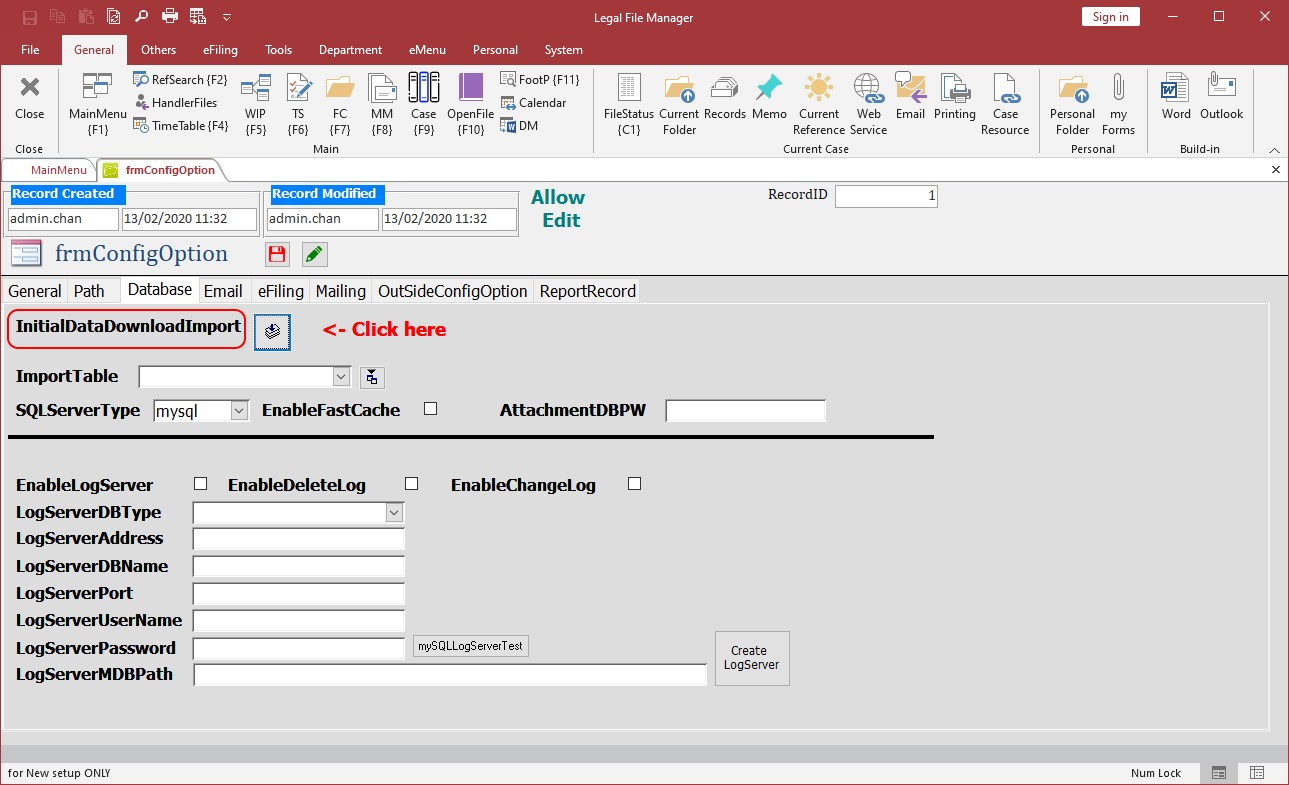
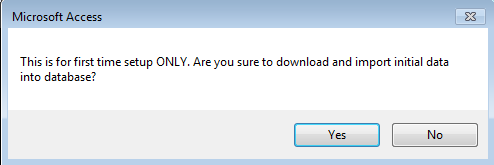
5.4 "ConfigOption" Menu will be prompted. Enter "Database" tag and click "InitialDataDownloadImport" button as red mark. Some data be downloaded from internet for first initial setup (You MUST have internet connection upon click the button).

5.5 Click "Yes"
5.6 "Completed. Please check and modify the data accuracy for your business environment. Also, add staff record before use." dialog box be prompted thereafter.
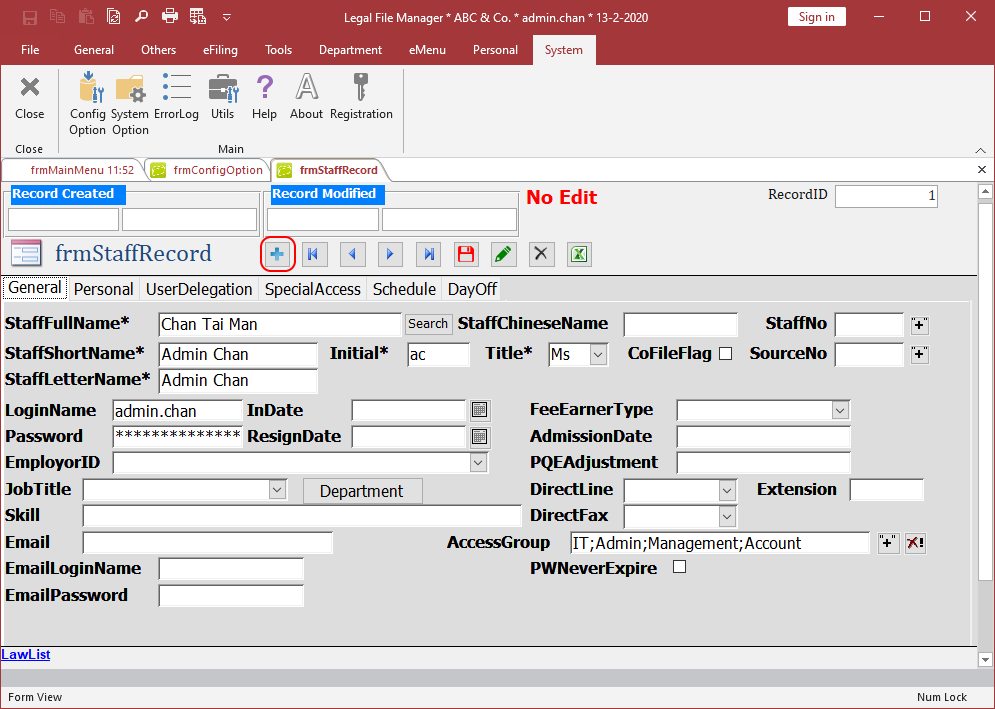
5.7 "StaffRecord" menu will be prompted again after data imported. Add all staff/user records. At least, those staff records shown in your file reference / document must be added.
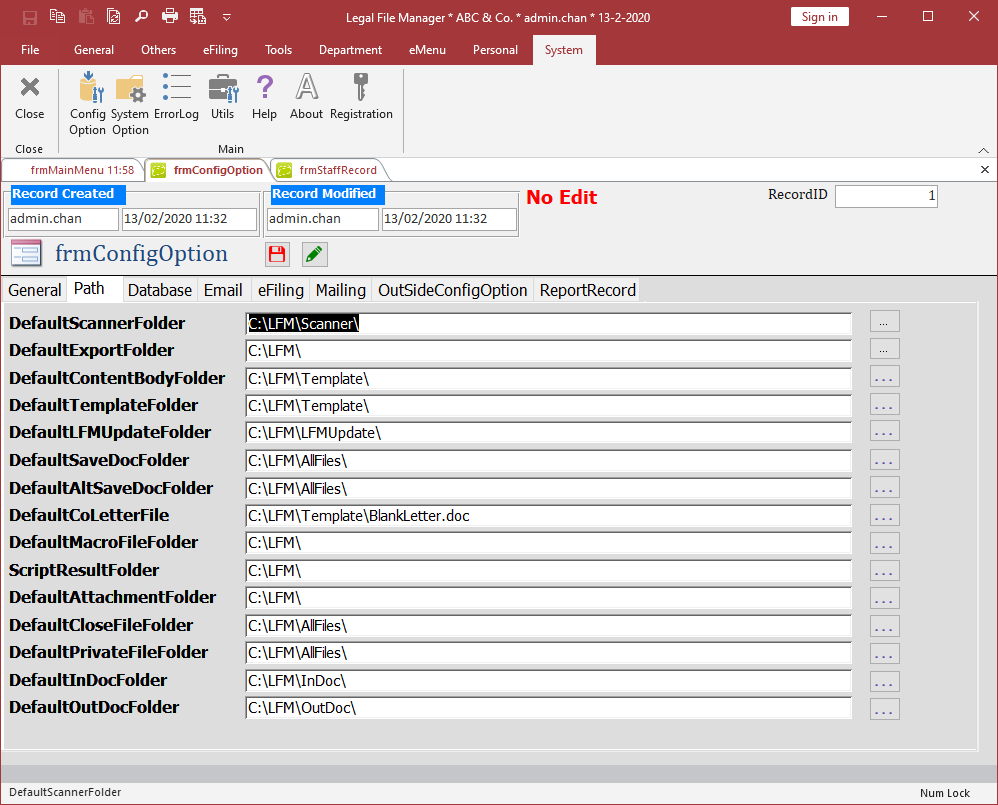
5.8 Go to menu "System" > "ConfigOption" > "Path". Please modify the setting according to your system environment, then click "Edit" button first then "Save" button.
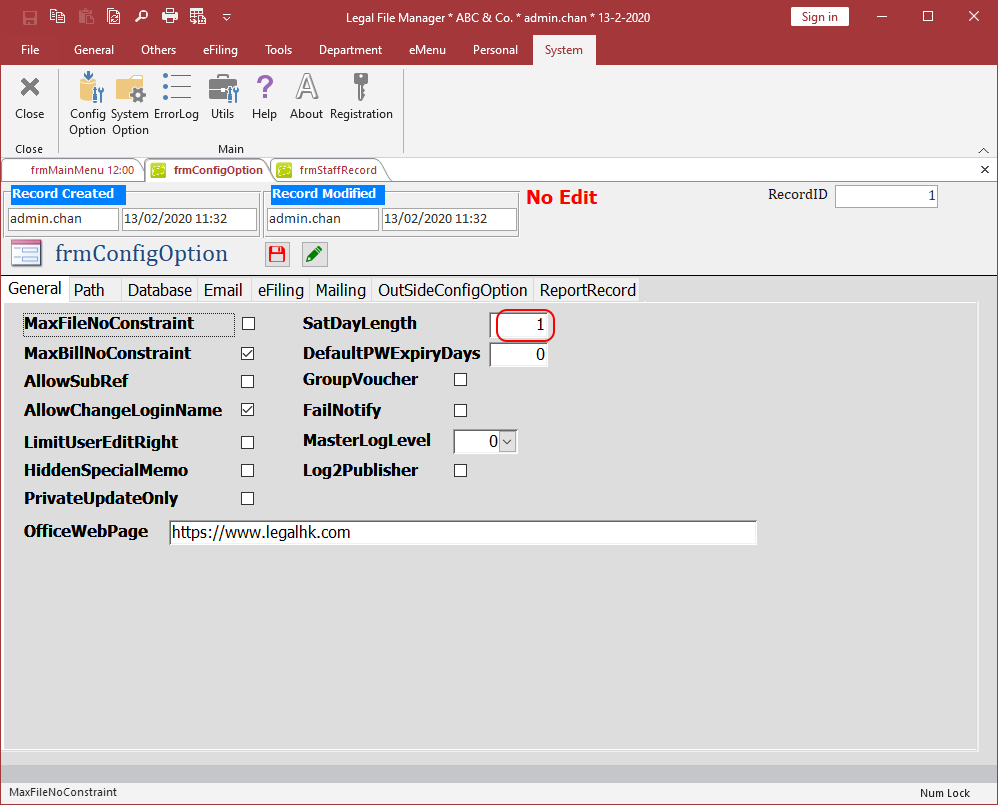
5.9 Go to menu "System" > "ConfigOption" > "General". Click "Edit" button first, modify SatDayLength (i.e. 5.5 days week = 0.5, 5 days week = 1)
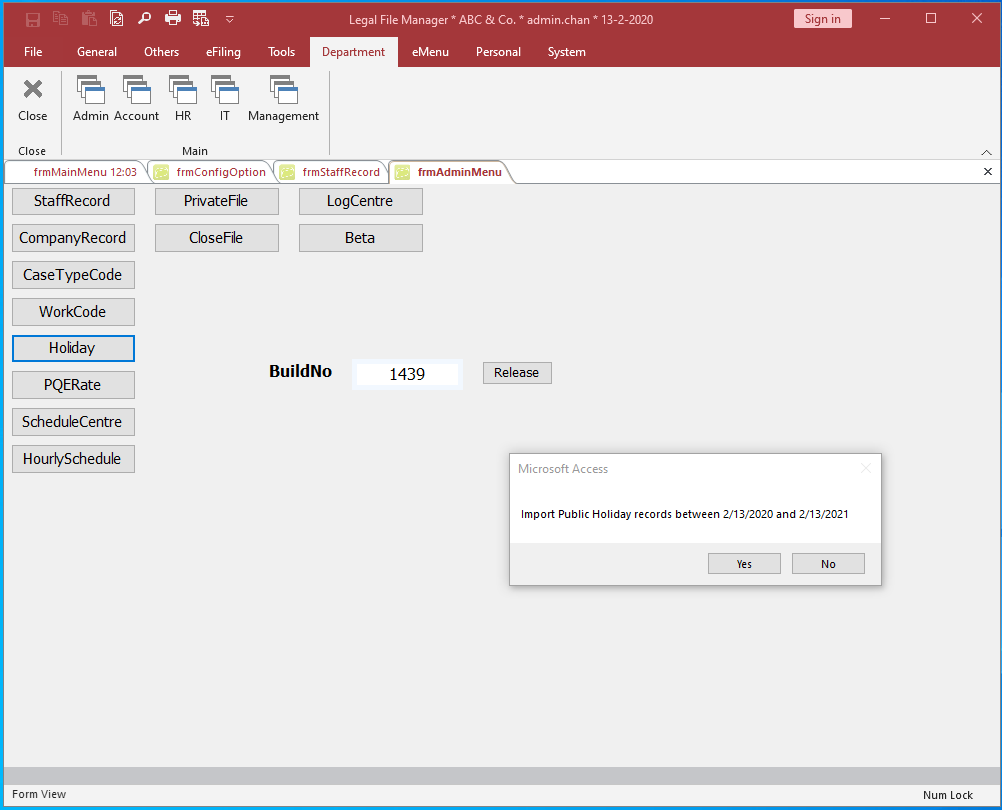
5.10 Go to menu "Department" > "Admin" Click "Holiday" button. Dialog box "Import Public Holiday records between 202x-xx-xx and 202x-xx-xx" be prompted. Click "Yes".
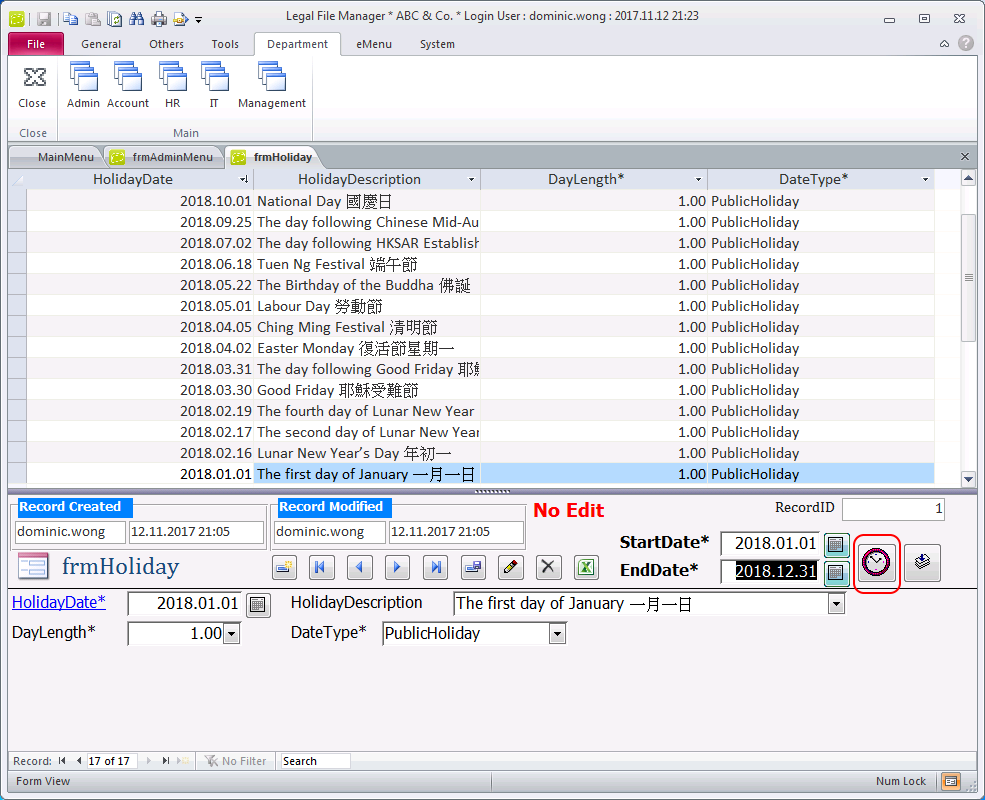
5.10 After import holiday success. "Holiday" menu prompted. Click click "Add Weekend record" button to generate weekend holiday
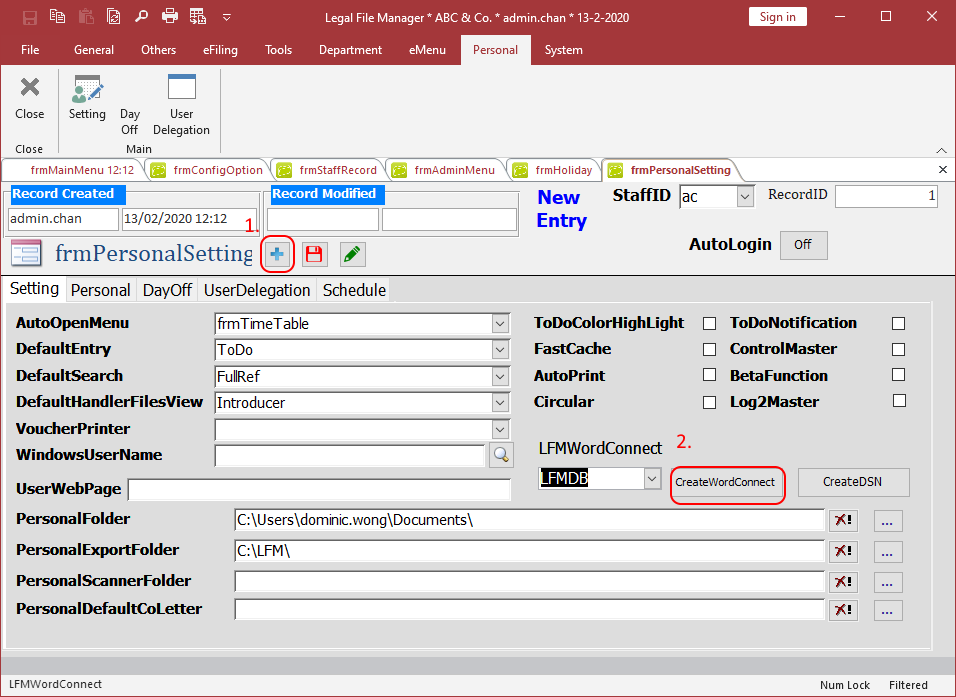
6. Go to "Personal", click "Setting" button. Then click "+" button to add new record and modify the setting you prefered. Then select "LFMDB" in LFMWordConnect and click "CreateWordConnect".
7. There are helpful user manual.